
DIY Plumbing Tips: Fixing Common Leaks at Home
Understanding the Basics of Plumbing Leaks
Plumbing leaks can be a common issue in many households, but with a little knowledge, you can often fix these problems yourself. Understanding the basics of plumbing and the common causes of leaks is the first step in tackling these issues. This guide will walk you through some DIY plumbing tips to help you fix leaks at home.
Identifying Common Leak Sources
The first step in fixing a leak is identifying its source. Common areas for leaks include faucets, toilets, and under sinks. Pay attention to any unusual sounds or water spots that might indicate a hidden leak. Regular inspections can help catch these issues early.
Faucet leaks are often caused by worn-out washers or gaskets. Toilet leaks might stem from a faulty flapper or fill valve, while leaks under the sink could be due to loose connections or damaged pipes.
Essential Tools for DIY Plumbing
Having the right tools is crucial for any plumbing job. Some essential tools include a wrench, pliers, plumber’s tape, and a utility knife. These basic tools will help you handle most minor plumbing repairs around the house.

Additionally, a bucket and some old towels are handy for managing any water that might escape during the repair process. Always remember to turn off the water supply before starting any work.
Fixing a Leaky Faucet
Leaky faucets are not only annoying but can also waste a significant amount of water. Here’s a simple way to fix them:
- Turn off the water supply to the faucet.
- Remove the handle and unscrew the packing nut.
- Replace the washer or O-ring inside, which is often the source of the leak.
- Reassemble the faucet and turn the water supply back on.

Repairing a Leaky Toilet
A leaky toilet can cause water wastage and increased utility bills. Often, the culprit is a faulty flapper or fill valve. Here’s how to fix it:
- Turn off the water supply to the toilet.
- Flush the toilet to empty the tank.
- Inspect the flapper and replace it if it’s worn or damaged.
- Check the fill valve for any issues and replace it if necessary.
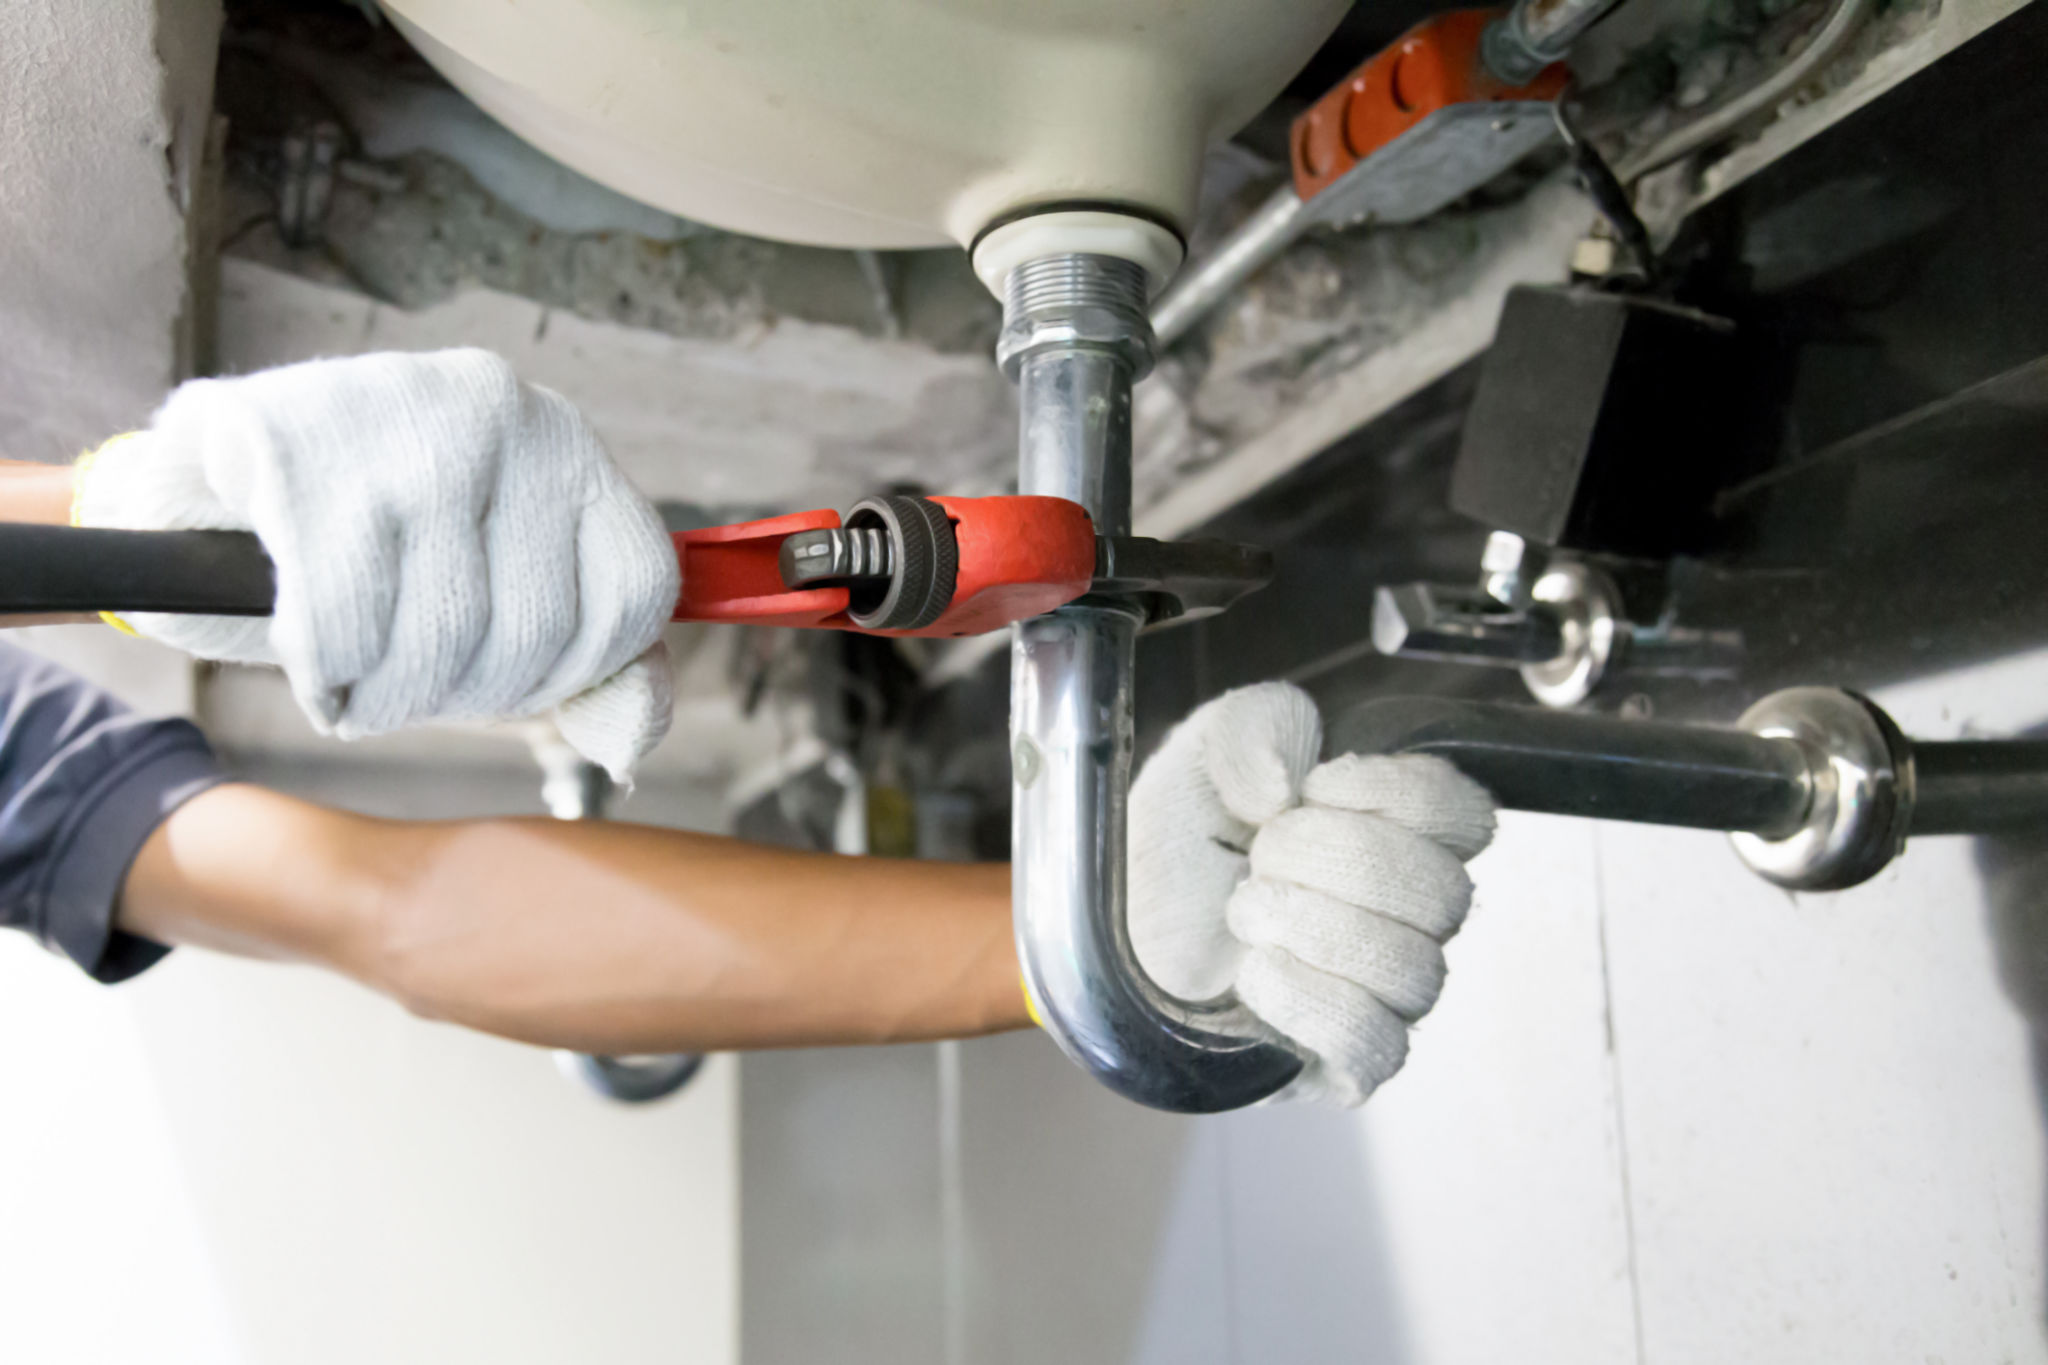
Addressing Under-Sink Leaks
Leaks under the sink can be tricky but are usually due to loose connections or damaged pipes. Here’s a straightforward approach:
- Tighten any loose connections with a wrench.
- Inspect pipes for cracks or damage and replace if needed.
- Use plumber’s tape to seal joints and prevent future leaks.

Regular maintenance and inspections can prevent many of these common leaks. By taking the time to understand and fix these issues, you can save money and conserve water.